A hair color try-on is most useful before a salon visit when it helps you reject bad directions and describe good ones more clearly. It cannot show the chemistry of lifting old dye, the texture of your hair in daylight, or the price of maintenance. Used with those limits in mind, it can turn a vague request for a change into a short, realistic conversation with your colourist.
Choose three directions, not twenty saved looks
Start with your own current base, not a celebrity photo. In a virtual hair color try on, test three directions that differ in a meaningful way: stay close to your depth and change tone, go one or two levels lighter, or go one level deeper and richer. For example, a medium brunette might compare neutral chocolate, soft caramel dimension and deep espresso. That gives the consultation a decision structure instead of a scrolling gallery.
Use the try-on to rule out depth mistakes first
Depth is usually easier to judge in a filter than exact tone. Look at the shadow under your cheekbones, the definition of your brows and the space between your hair and skin. If a very dark version makes the eyes look small or the jaw look severe, it may be too deep for the effect you want. If a very light version removes all framing around the face, you may need a darker root or more lowlights rather than more lift.
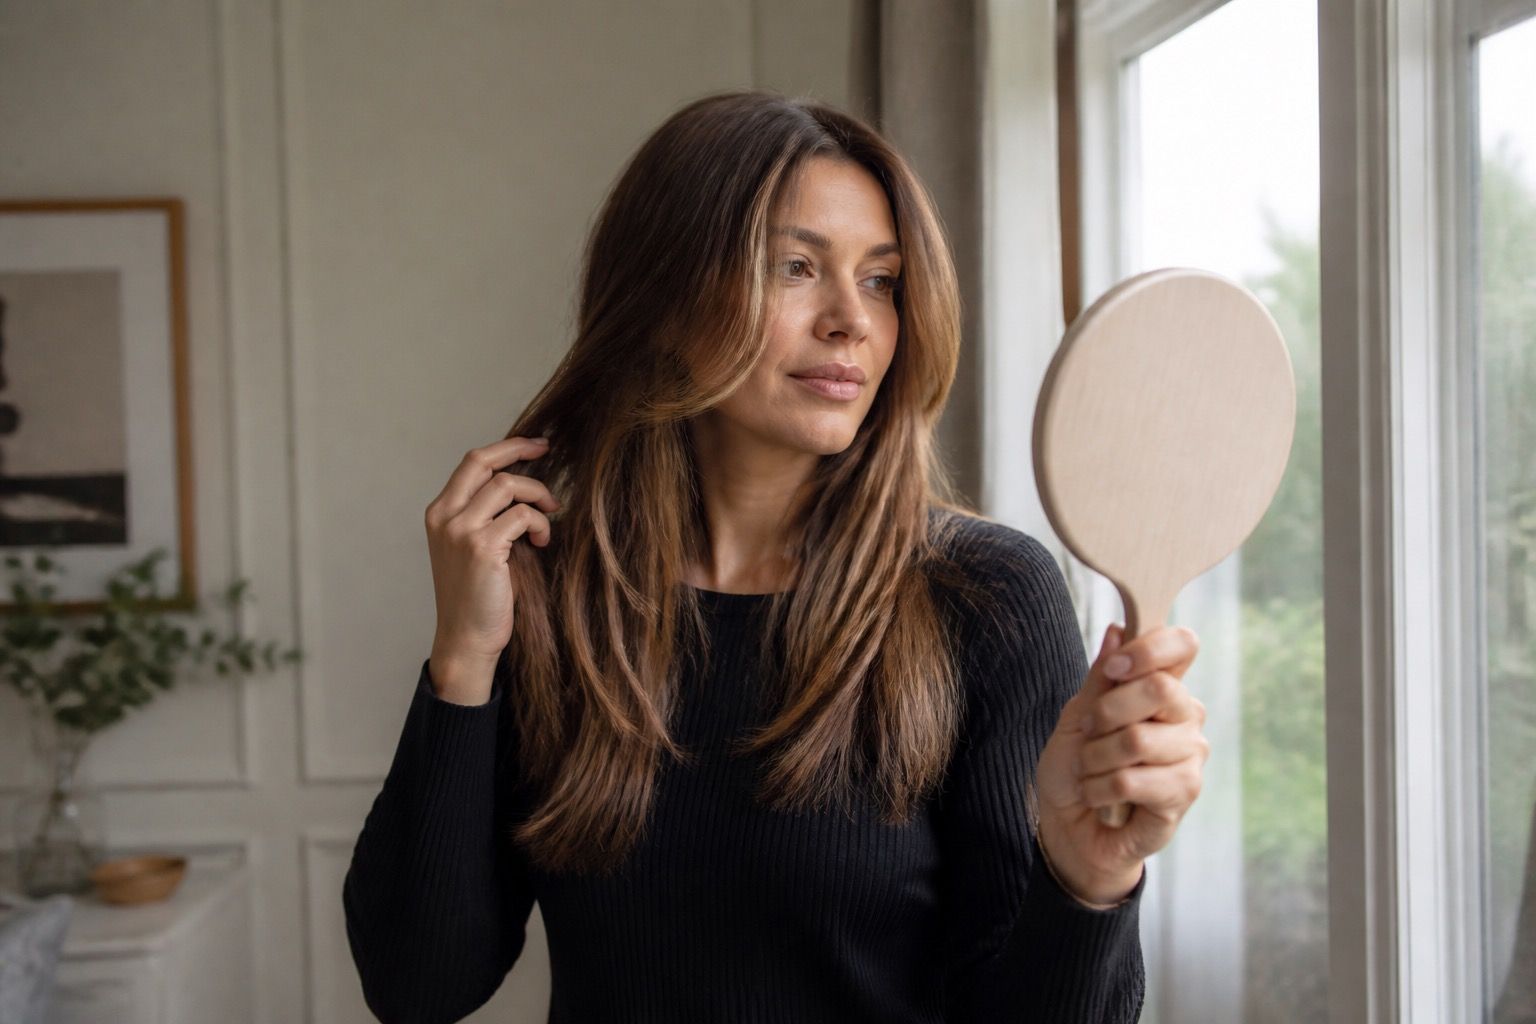
Take screenshots in neutral daylight and compare them at normal phone size. A colour that only works when enlarged, smoothed and brightly lit is not a strong everyday candidate. Turn the screen brightness down once too; some apps make cool ash tones look silver-blue and golden tones look cleaner than they will appear against natural skin.
Root regrowth is another depth check. Picture your natural root against the edited shade after six weeks. A large gap may be worth it for a high-impact change, but it should be a conscious budget and appointment decision. The best virtual hair color try on is the one that reveals a compromise you can actually live with, not the one that promises a permanent fresh-from-the-salon finish.
Match reference photos to what is already on your hair
Reference photos need a caption in your mind: virgin hair or coloured hair, fine or dense texture, straight or curly, sunlit or studio-lit. A caramel balayage shown on untouched level-six brown hair is not the same service on dark box-dyed hair. Previous dye can hold warm pigment, while old highlights may lift much faster than the rest. A filter cannot see either history.
Bring a simple colour history to the appointment: when you last coloured, whether you used permanent dye, glosses, henna, direct dyes or at-home lightener, and what parts were previously highlighted. Do not minimise a box colour because it was months ago. That information changes what a strand test may show and whether a single appointment is sensible.
Use the try-on image as a visual target, then ask the colourist to translate it into steps. They may suggest a root shadow, a few brighter pieces, a gloss or a staged lightening plan. That is not a failure of the image. It is the moment when a digital preference becomes a workable hair plan.
Check tone, but expect the salon to refine it
Once depth looks plausible, compare warm, cool and neutral versions at the same level. Warmth can make skin look lively or expose redness; ash can feel polished or slightly grey. A neutral beige, soft chestnut or balanced brunette is often a good bridge when you cannot decide from a screen. It gives the colourist room to adjust after seeing your skin, natural roots and existing pigment in person.
Pay attention to the front hairline in the try-on. A warm face frame can be flattering while a full warm head of colour feels too orange. Conversely, a cool gloss can calm brass near the lengths without requiring an icy blonde at the roots. Ask for the part of the look you actually like rather than insisting on every pixel of a filter.
Photos taken outdoors are useful because they reveal whether a shade reads red, gold or greenish in real light. Indoor salon lighting often makes nearly every glossy brunette look warm. Bring one daylight reference and one indoor reference if you have them; the difference helps define how stable a tone needs to be.
Talk about maintenance before the appointment starts
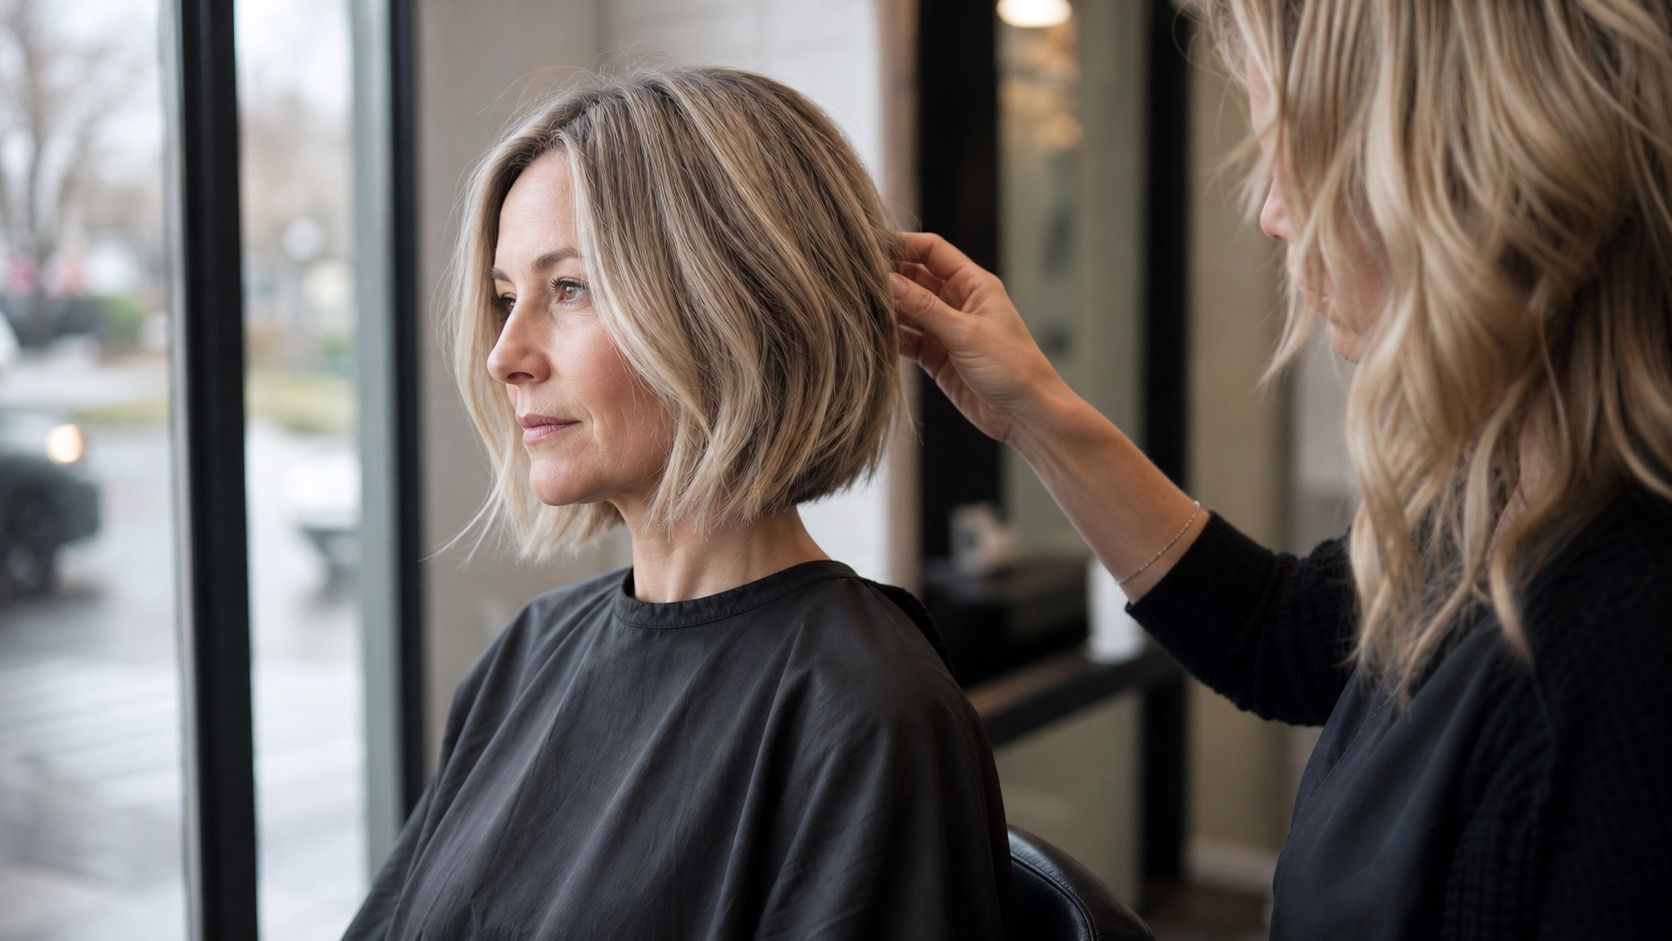
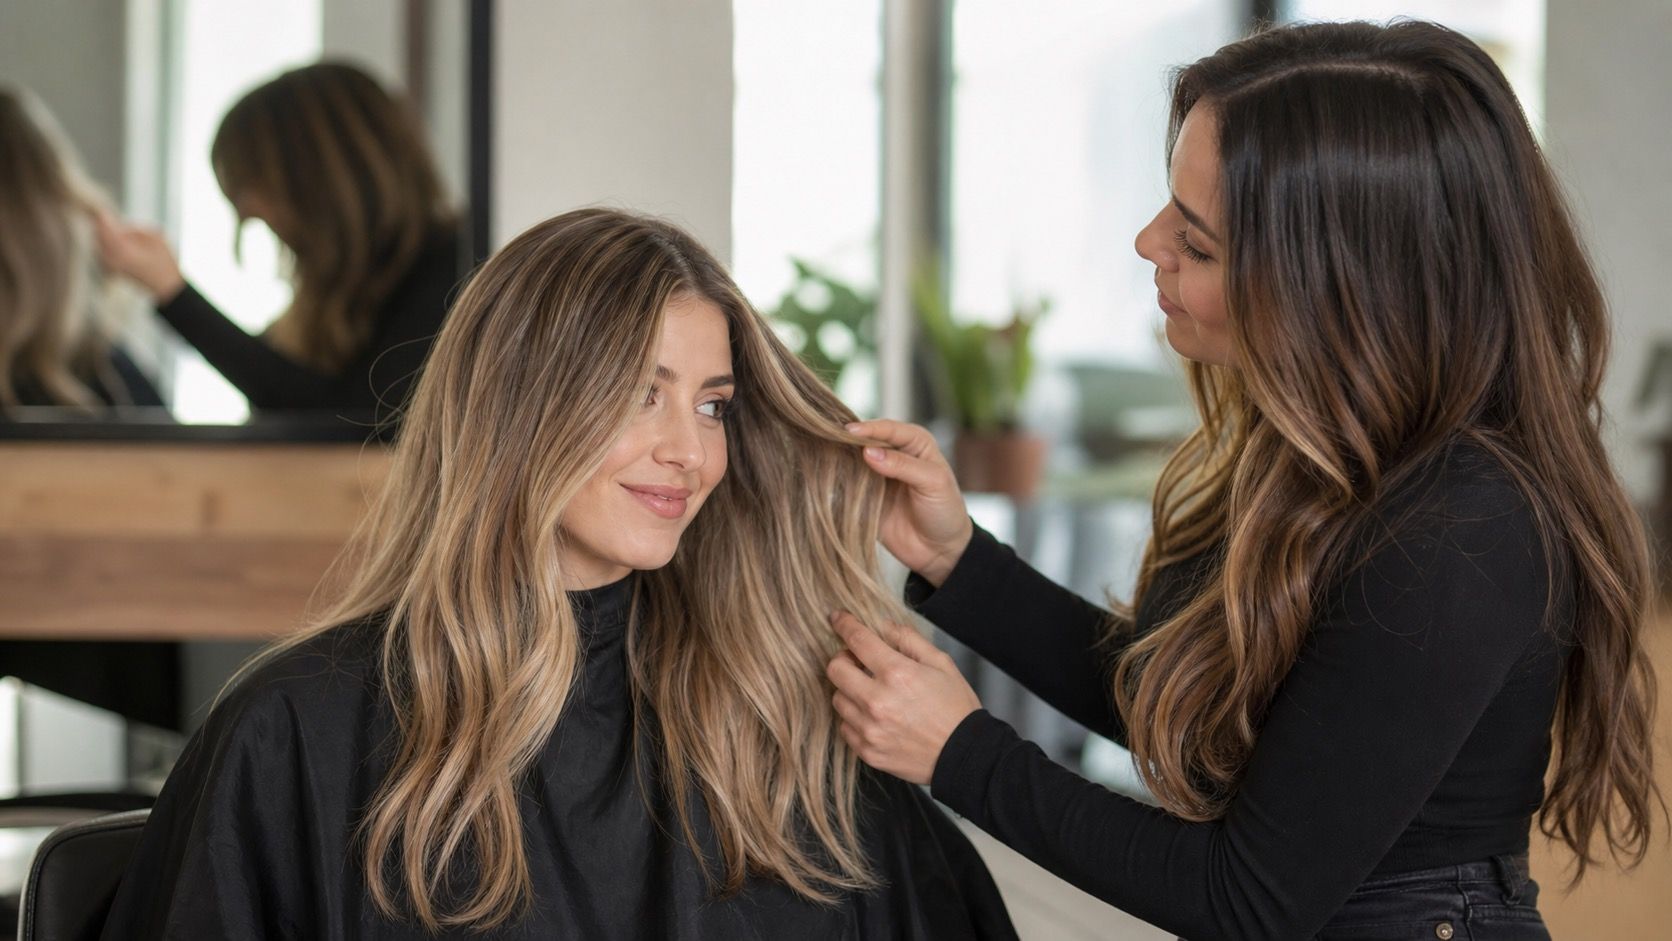
Before a cape goes on, ask what will fade, what will grow out and what must be refreshed. A subtle gloss may need attention after four to eight weeks. Bright blonde face framing may require toner between larger appointments. A lived-in brunette with soft dimension can be lower maintenance, but only if the starting base and placement are chosen for your natural root.
Budget belongs in the plan. Going lighter can mean a longer first appointment, a strand test, bond-supporting treatment and follow-up toners. Going darker after heavy highlights can also take care: filling porous ends incorrectly may leave a muddy or quickly fading result. Tell the colourist whether you want a one-day change, an achievable three-visit transition or a low-commitment trial.
| Try-on result | Useful salon question | Practical trade-off |
|---|---|---|
| Two levels lighter | Can my current base reach this safely today? | May need staged lift and regular toner |
| Warmer face frame | Can warmth stay at the front while lengths remain neutral? | Often easier to adjust than an all-over change |
| Darker all-over colour | How will faded highlights be filled first? | Can fade lighter or warmer on porous ends |
| Soft natural dimension | Where should the brightness start for my regrowth? | Usually grows out more quietly |
Make the final decision in the salon chair
A consultation is the point where the filter should lose authority. Your colourist can separate a pleasing idea from a technically sensible request by looking at elasticity, density, root colour and old work. If they recommend a strand test or a softer first appointment, treat that as useful information rather than resistance to the reference photo.
Show the three saved directions, then explain your priority in one sentence: “I want my eyes to look brighter, but I do not want monthly roots,” or “I like the warmth around the face, not an orange overall result.” This is much easier to act on than asking for the exact colour in an edited image.
Leave room for a final adjustment after the hair is dried. Gloss, toner and face-framing placement can be refined once the colourist sees the result against your bare skin and everyday makeup. A hair colour try-on has done its job when you arrive informed, choose a realistic version of the look, and understand what the finished colour will ask of you at home.